Patch a small drywall hole
Trim loose paper, press lightweight filler across the hole, and feather the edge with a wide knife. Sand only when fully dry; prime before touching up paint.
Manual 04 Home / Workshop
Plans for ordinary rooms
A shallow entry shelf, three small repairs, and the tool habits that keep a Saturday job from becoming a Sunday problem.
Build the entry shelf
Featured build / 01
A 140 mm-deep landing place for keys, post, and the things that otherwise collect by the door. The hidden wall strip keeps the front clean and makes installation forgiving.
BUILD SHEET / OC-041
TOP1 × 760 × 140 mm
FACE1 × 760 × 90 mm
ENDS2 × 122 × 90 mm
WALL STRIP1 × 700 × 45 mm
Cutting allowance: add 3 mm when rough-cutting the sheet, then trim to the final line after checking for square.
Sequence matters
Do the dusty work first. Keep the clean wall installation until the finish has cured.
Choose the shelf position, find the nearest studs, and check that the wall is reasonably flat.
Clamp a straight guide to the plywood. Keep the best face upward with a hand saw, downward with a circular saw.
Mark screw centers 9 mm from the edge. Bore clearance holes in the face and pilot holes into the ends.
Spread a thin line of wood glue, clamp the corners flush, then drive the screws without burying their heads.
Sand to 180 grit, ease the sharp edges, and apply two thin coats. Let the first coat dry before denibbing.


Small fixes / under an hour

Trim loose paper, press lightweight filler across the hole, and feather the edge with a wide knife. Sand only when fully dry; prime before touching up paint.
Tighten the top hinge first. If the screws spin, fill the holes with glued wooden splints, let them set, then drive the screws again.
Support the door, loosen the plate screws, and move the hinge in small increments. Change one adjustment at a time so you can see what worked.
Remove the damaged plug and use the correct replacement for the wall type and load. Do not put a larger screw into a weak, widened hole.

Tool drawer / six essentials
A short list of dependable tools covers most small home jobs. Learn what each one tells you before adding another machine.
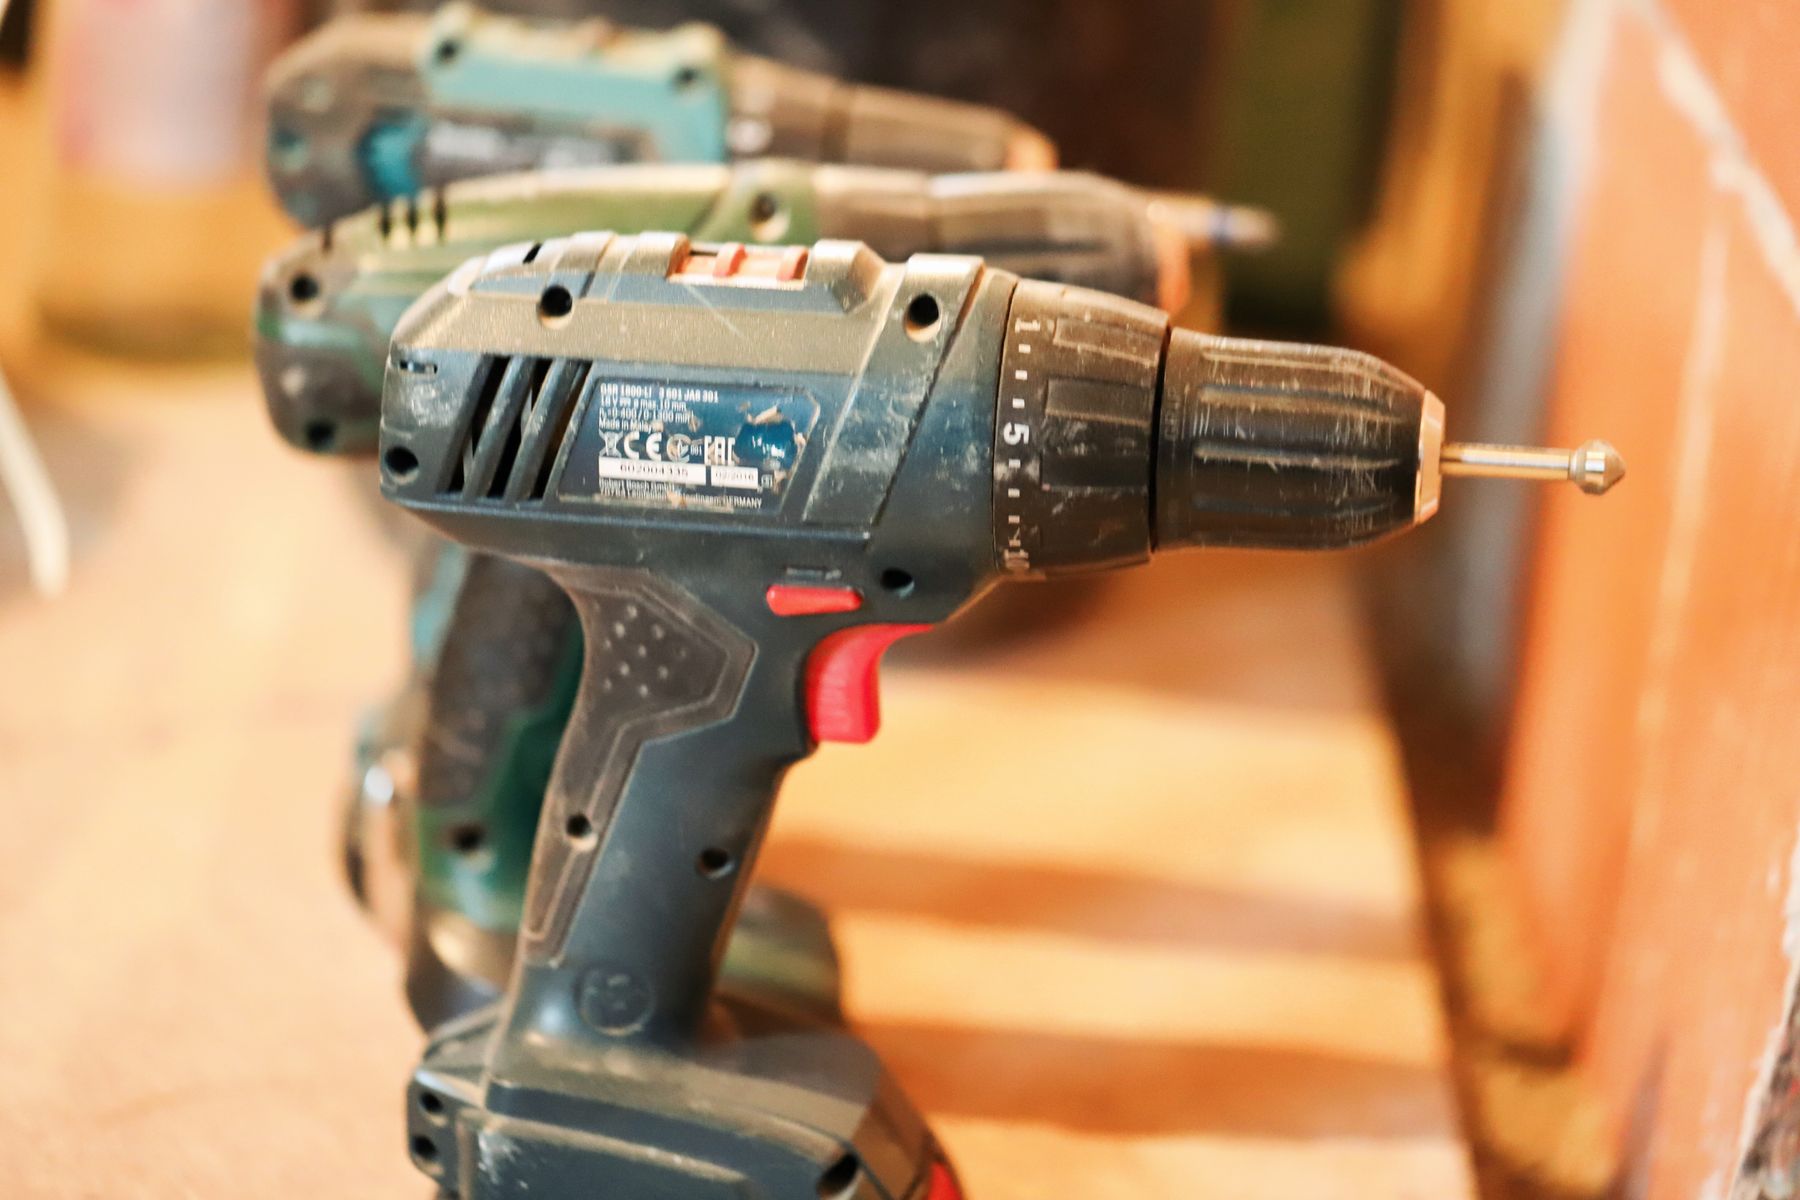
Makes holes, drives screws, and—with the clutch set correctly—stops fasteners from sinking too far.
Useful only when the hook is sound and you mark the same side of the line every time.
Long enough for shelves and frames, short enough to fit between most obstacles.
Marks repeatable 90-degree lines and checks whether a cut end is actually square.
Scores drywall paper, trims caulk, opens materials, and rewards a fresh blade.
Hold a guide, close a joint, or become the extra hands a solo project usually needs.
Material file / plywood

Shelves, cabinet boxes, drawer parts, jigs, and small furniture where a stable flat panel matters.
Count the plies at the edge and sight along the sheet. Avoid bowed panels, open voids, and crushed corners.
Leave clean plies visible, glue on a solid timber lipping, or apply iron-on veneer tape. Raw filler rarely looks convincing.
Put the good veneer where it will be seen. Mask the cut line and use a sharp, fine-tooth blade for less splintering.
Workshop rule / pilot holes
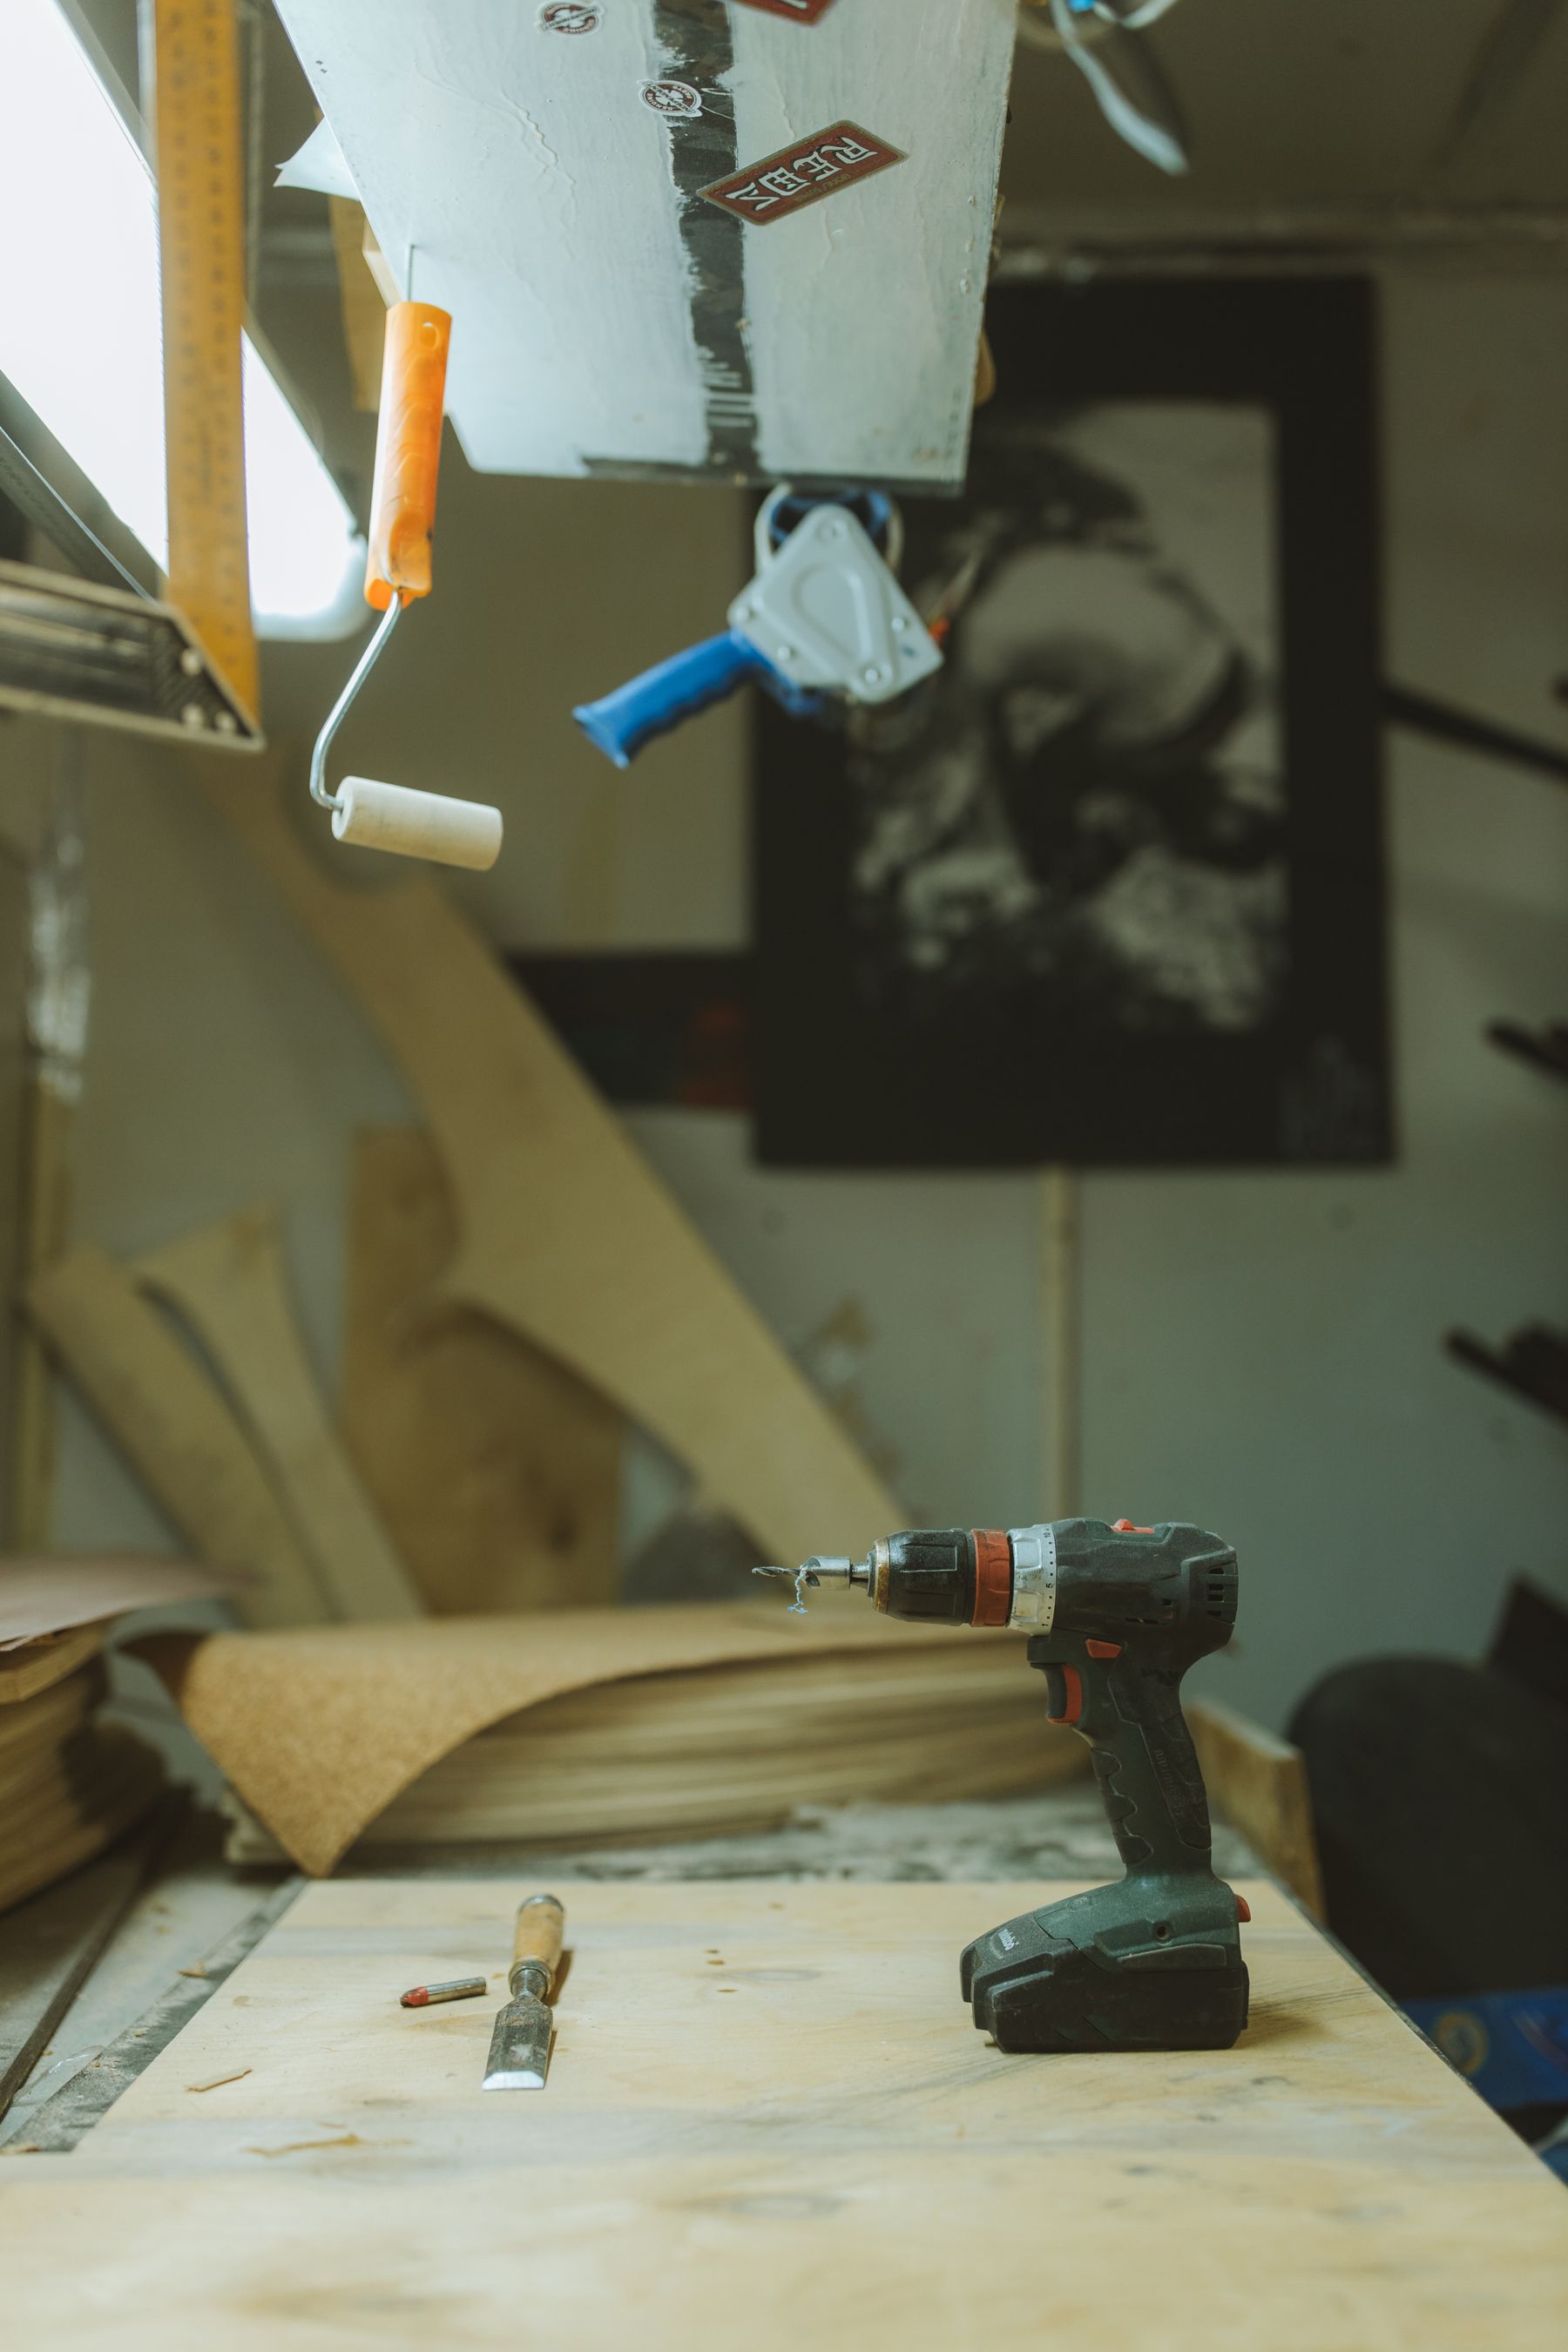
A pilot hole is not fussiness. It clears a path for the screw core, lowers the force needed to drive it, and keeps narrow timber from splitting near an end.
Match the core. Choose a bit close to the solid center of the screw, not the full width of its threads.
Drill the full depth. Mark the bit with tape so the hole reaches the screw tip without passing through the work.
Clear the top piece. A slightly larger clearance hole lets the screw pull two parts together instead of holding them apart.
Before drilling: wear appropriate eye and ear protection, check walls for wiring and plumbing, follow the tool maker’s instructions, and stop when a job is beyond your experience.
From the Offcut files
 Hanging / 7 min
Find structure first, choose fixings second, and make the final level adjustment before loading it.
Use the shelf planTools / 6 minBrad-point for timber, masonry for brick, and why a dull twist bit makes every material harder.
Open the tool guideFinishing / 5 minFiller changes the surface porosity. A small coat of primer usually fixes the difference.
See quick repairsMeasure from a confirmed edge, say the number aloud, mark the waste side, and check the finished size—not just the tape.
Read the workshop ruleOne clear Saturday